Denver's RailRoads Blog Page
Recording the progress of building the Denver’s RailRoads N Scale layout
All genuine posts are welcomed and will be acknowledged. Please submit your first post by email to: dennis@denversrailroads.com
A Change of Direction
I had planned to complete the South Denver module 1, aka as the Joint Line Return Loop & Burnham Shops, to operational stage. Unfortunately, the size of the wiring job has somewhat overwhelmed me, largely because:
- I wired all of the block detectors with the baseboard in a “pop-up” vertical position and did not take into consideration access after it was lowered back onto it’s normal horizontal position.
- Wiring individual DCC accessory decoders for 40 turnouts is a long soul-destroying job.
- I use solid wire which has many advantages. The one major disadvantage is that the one strand can easily break.
- For economic reasons most of the turnouts have been re-used from previous layouts. This has led to questionable trackwork.
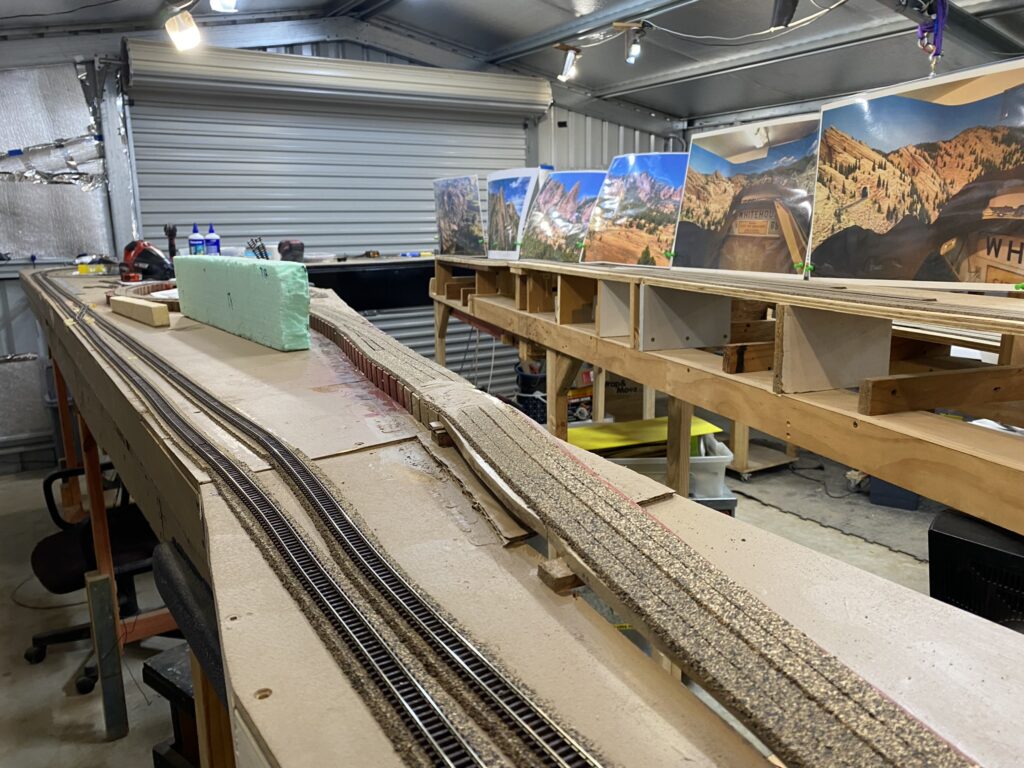
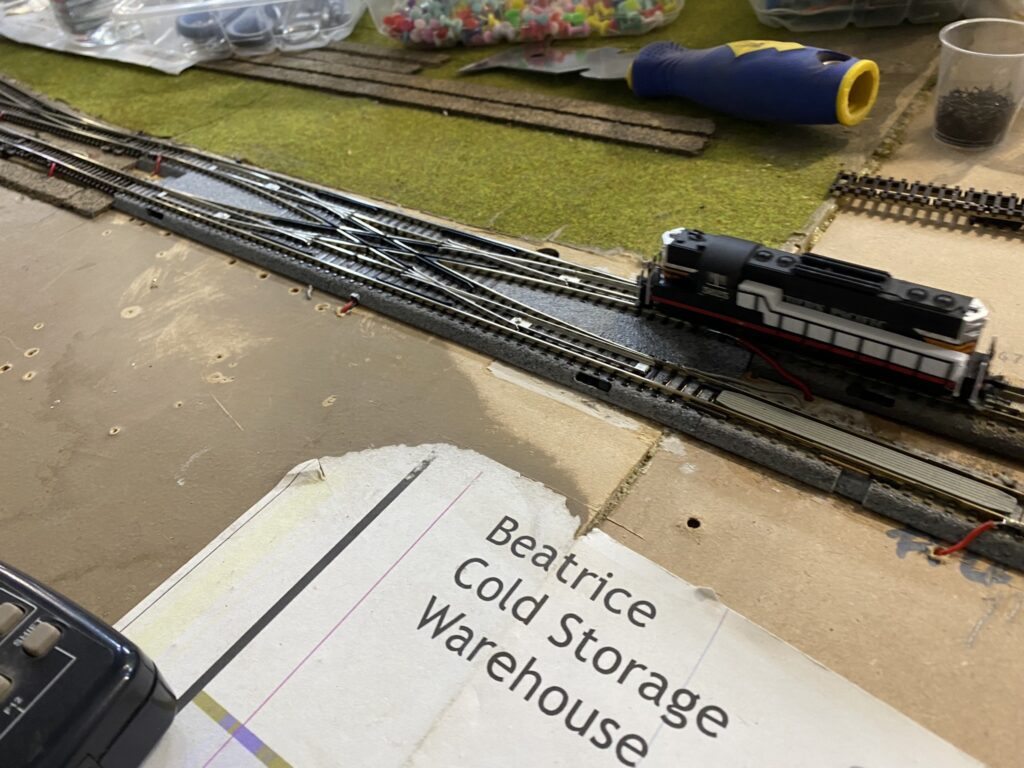
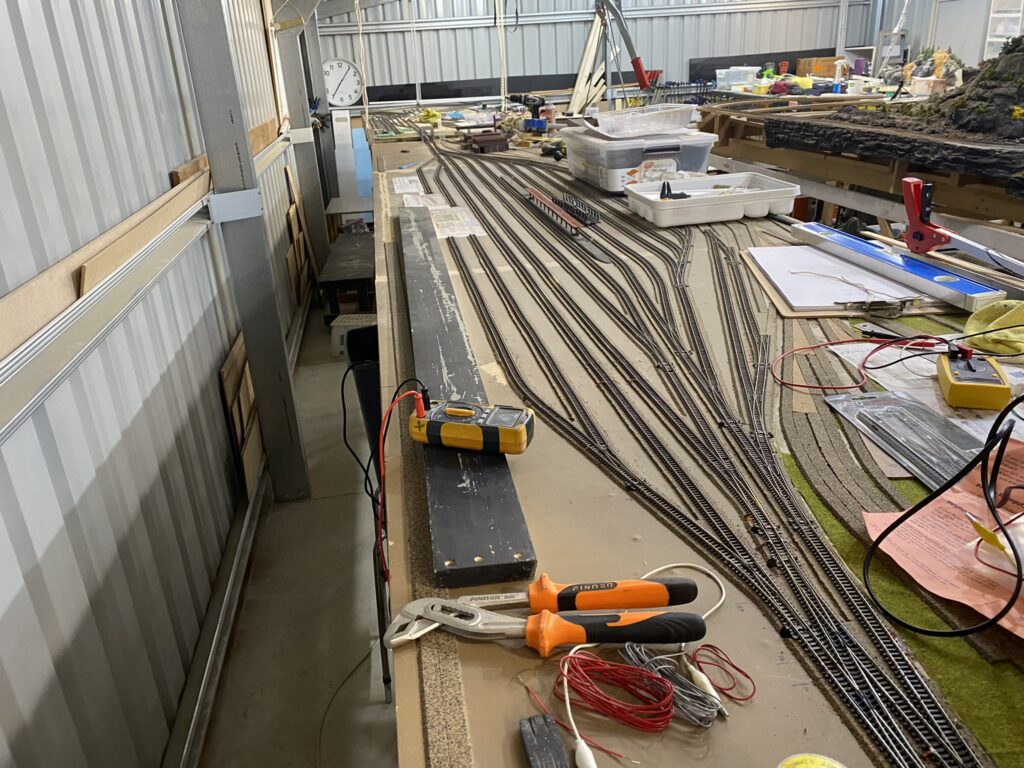
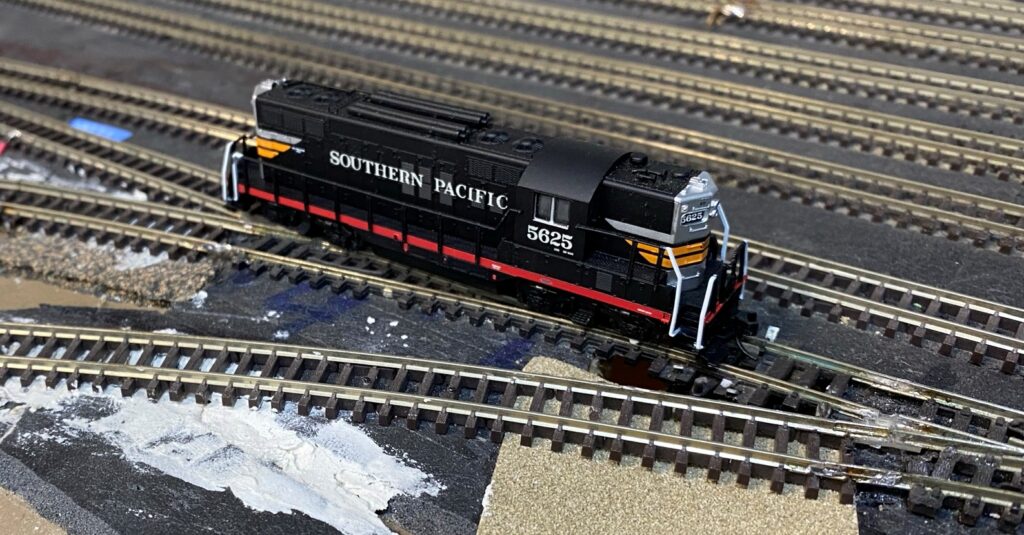
After a period of indecision, while I spent my time testing Locomotives on the new test loop of track (see first photo below) I decided that I would build west from the test loop to the Grand Junction return loop.
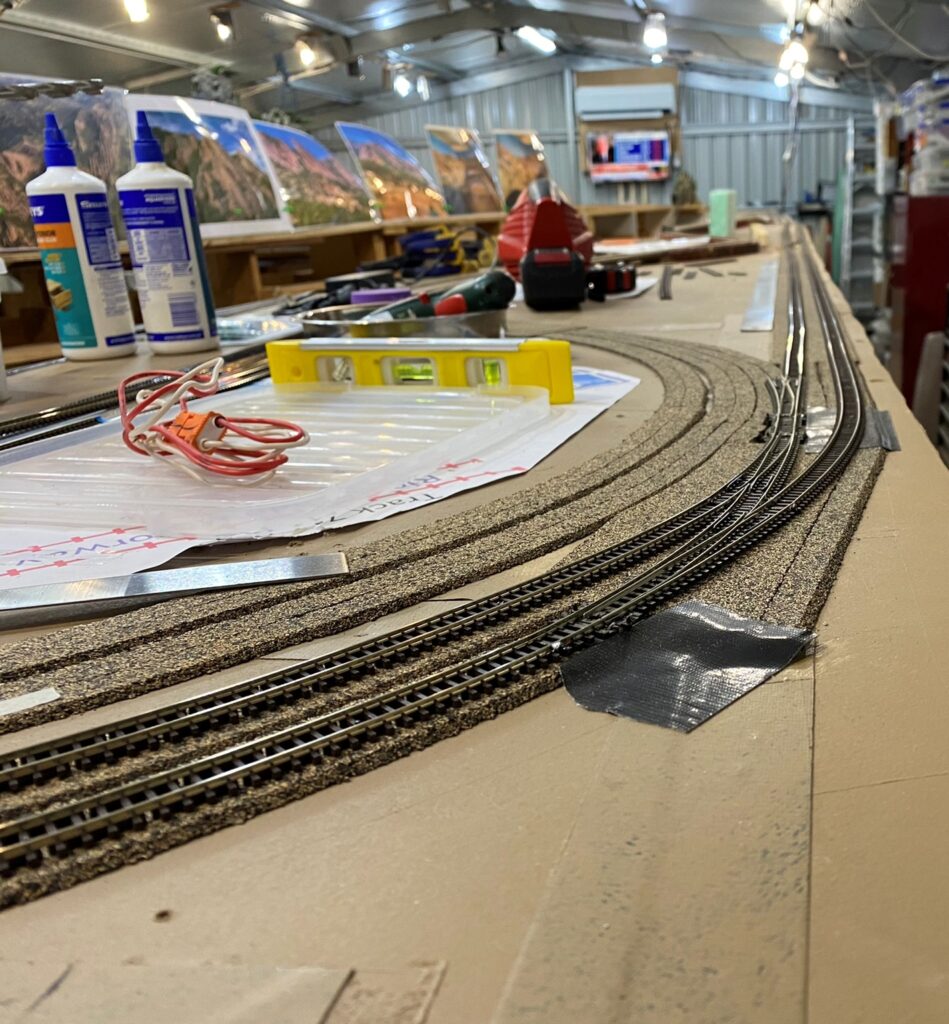
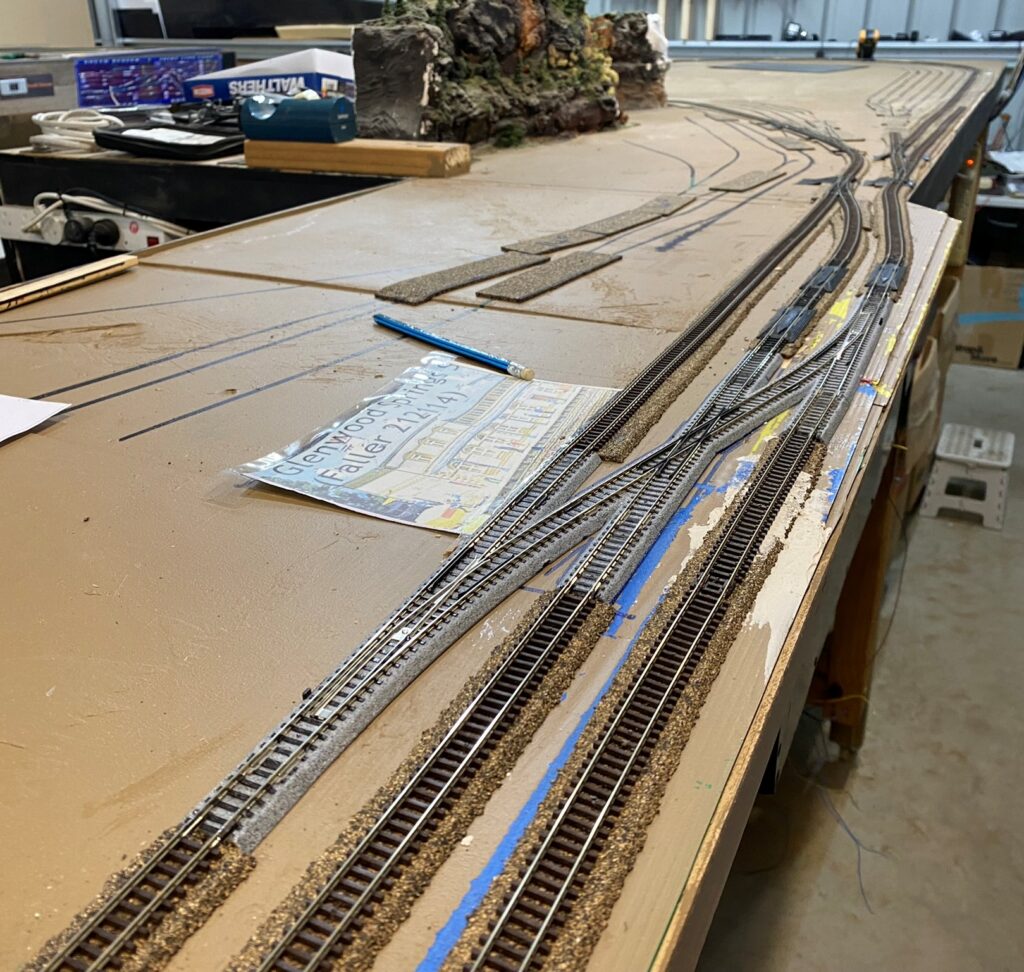
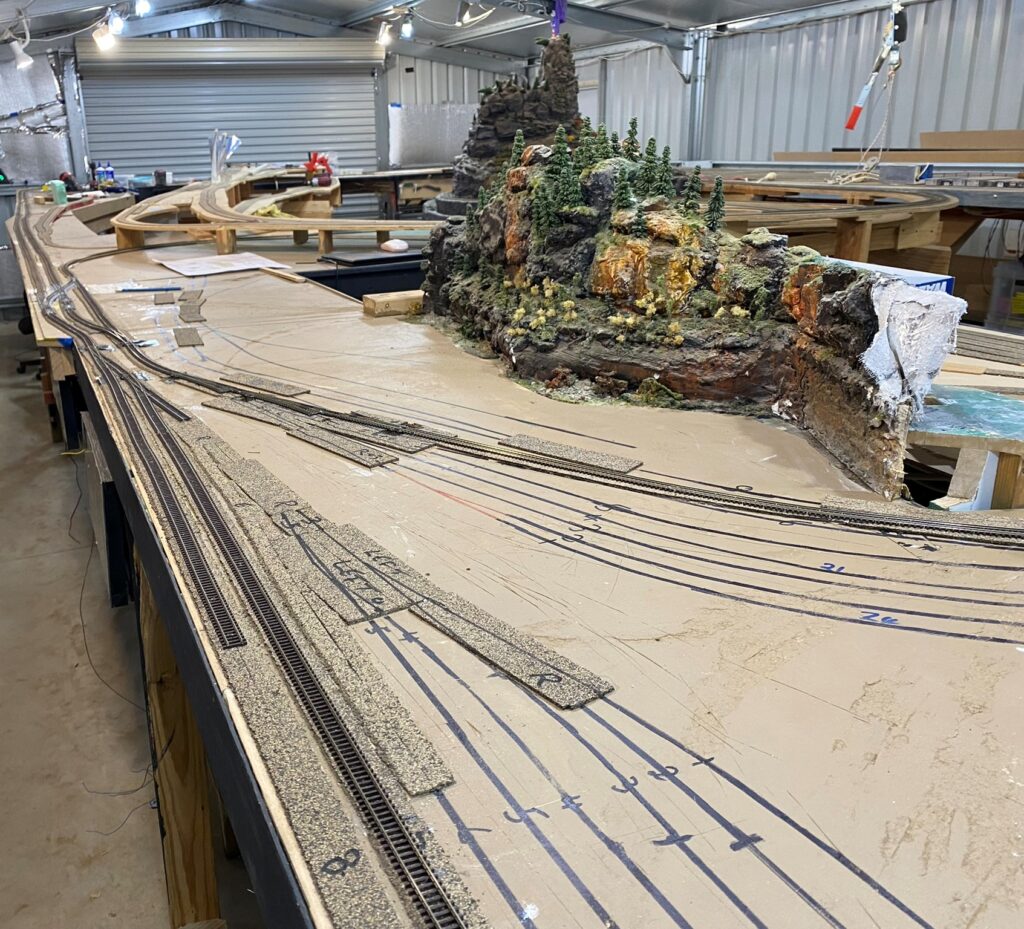
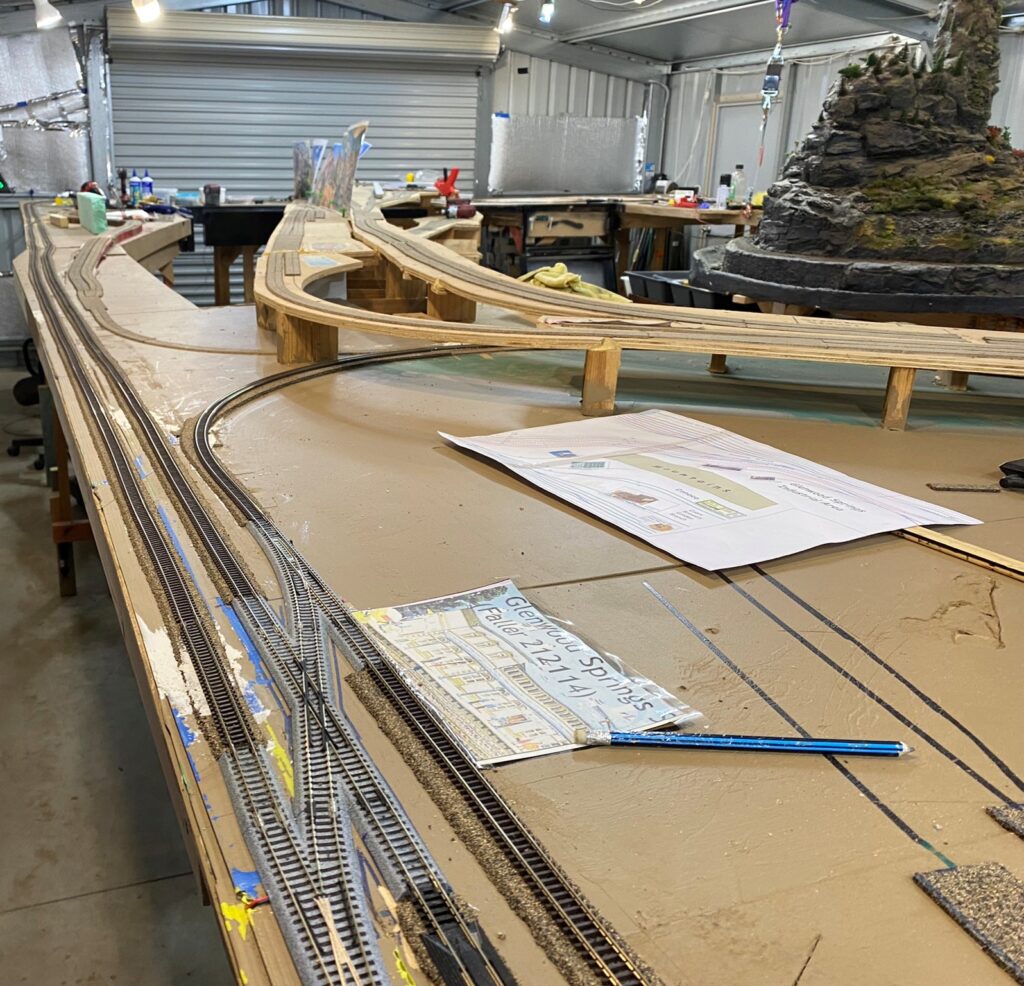
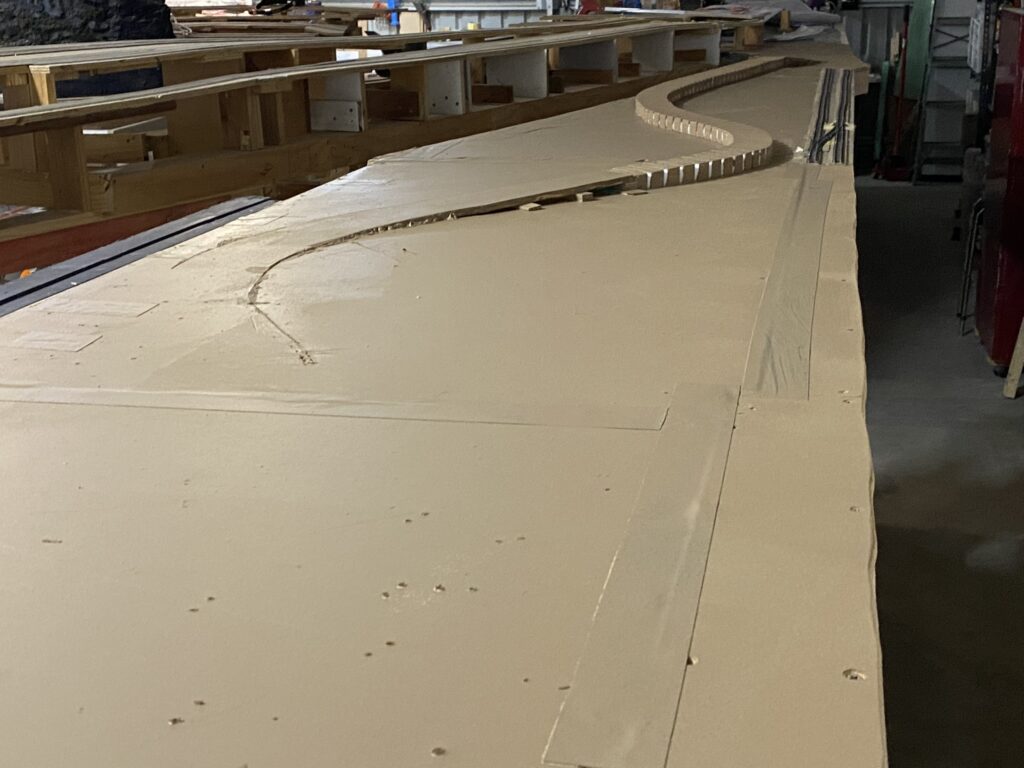
What I have done, and can be seen in the following photographs, is build the CB&Q and UP main line from the test track loop all the way to a single loop of track, being part of the Grand Junction loop. I have installed all of the main line turnouts as I went so that I can build on from the main line as required.
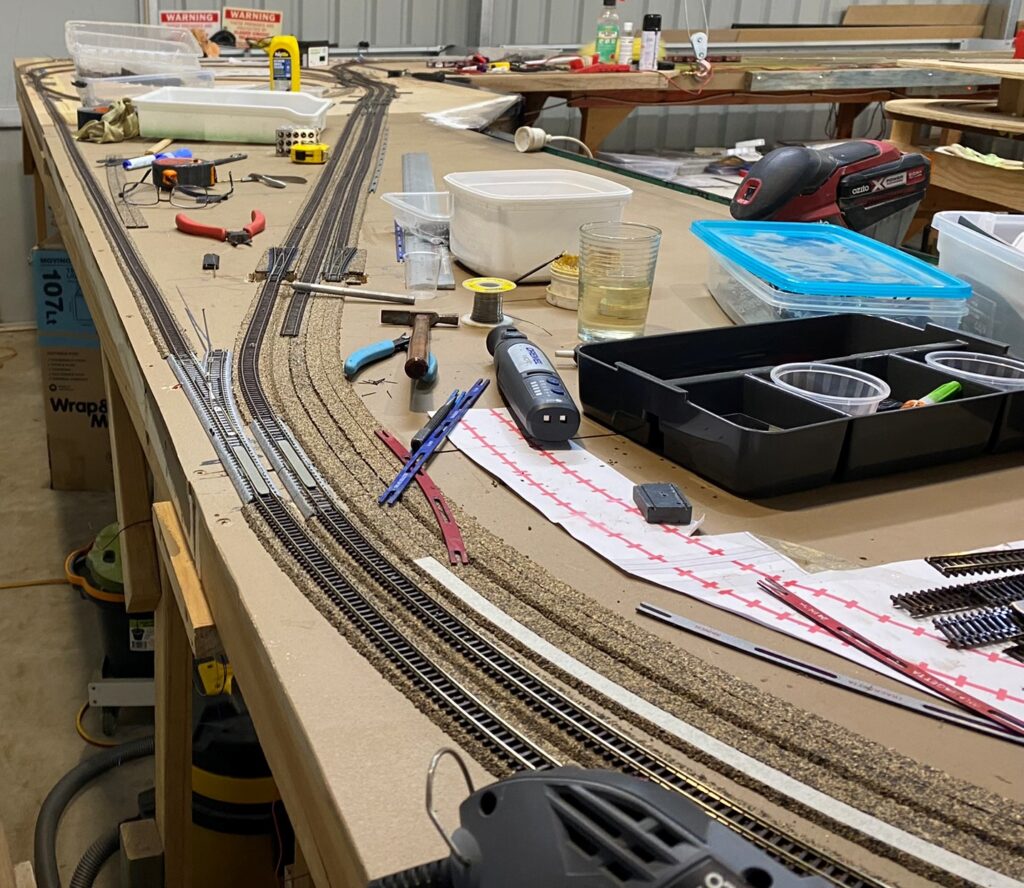
The UP main line is on the left and the CB&Q and Rio Grande main lines are on the right.

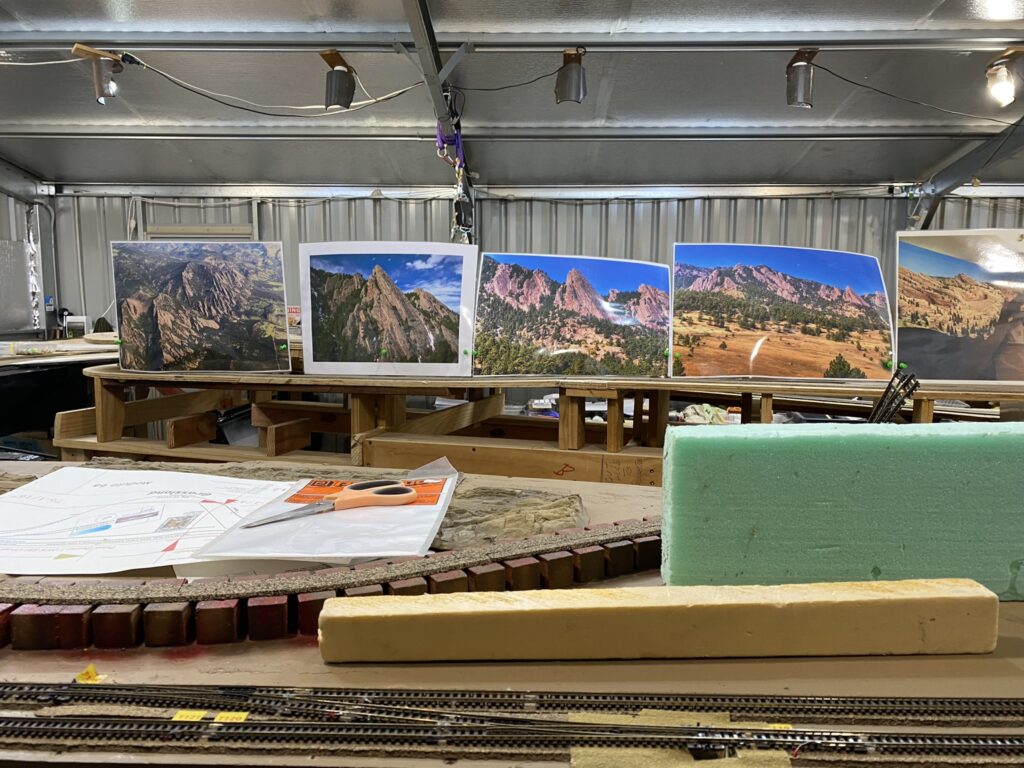
I add some spray can paint
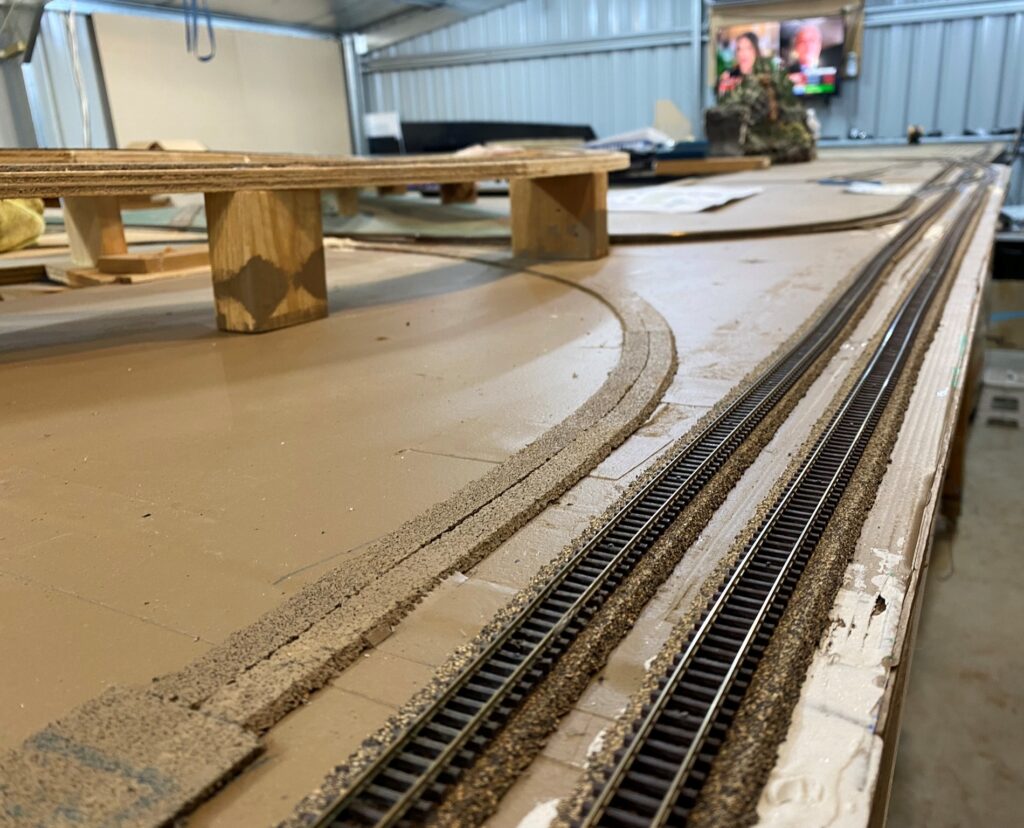
The Woodland Scenics risers are great but I hate how white they look. I had brush painted the sub-roadbed but I needed to spray paint the insides of the risers to remove the “white” look. With hindsight I should have sprayed a diluted brown or black wash, which would have been a lot cheaper than rattle cans.
I paint the sub-roadbed a dirty brown
Struck a bit of a problem
First I discovered that the Gaugemaster GM500 Self Latching Relay did not work with DCC. I knew there was a GM500D DCC Relay but I had not realised that the GM500 would only work with analog connections. So I have ordered some GM500D’s from Hattons, but the Royal Mail is taking an uncharacteristic long time to arrive in Australia.
In the meantime I switched from NCE Snap-Its to DCC Concepts SX Accessory Decoders, which have the extra SPST switches, provided by the GM500D, built in. Unfortunately at the same time the temperatures in Perth shot up to 40°C and my LED lights started giving me false readings. On top of that I already had a situation where a number of NCE BD-20 block detectors were giving false readings.
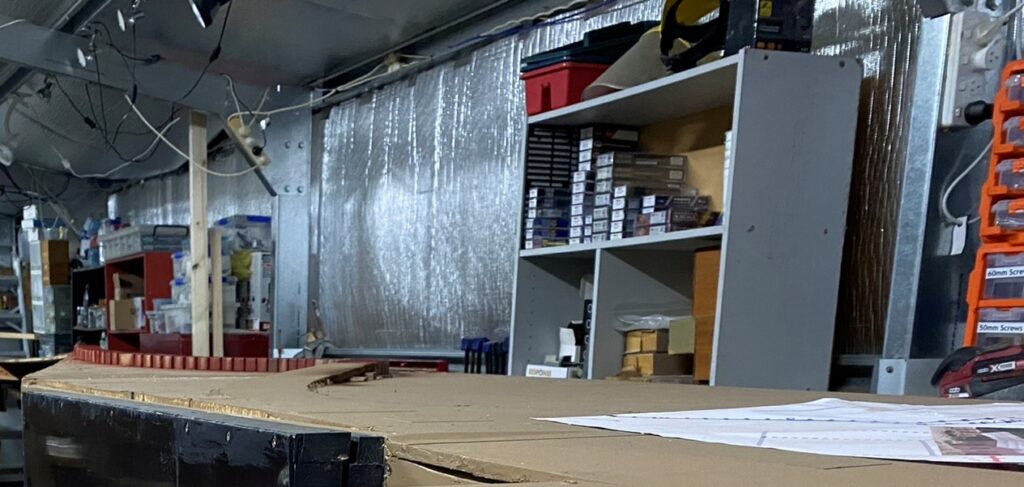
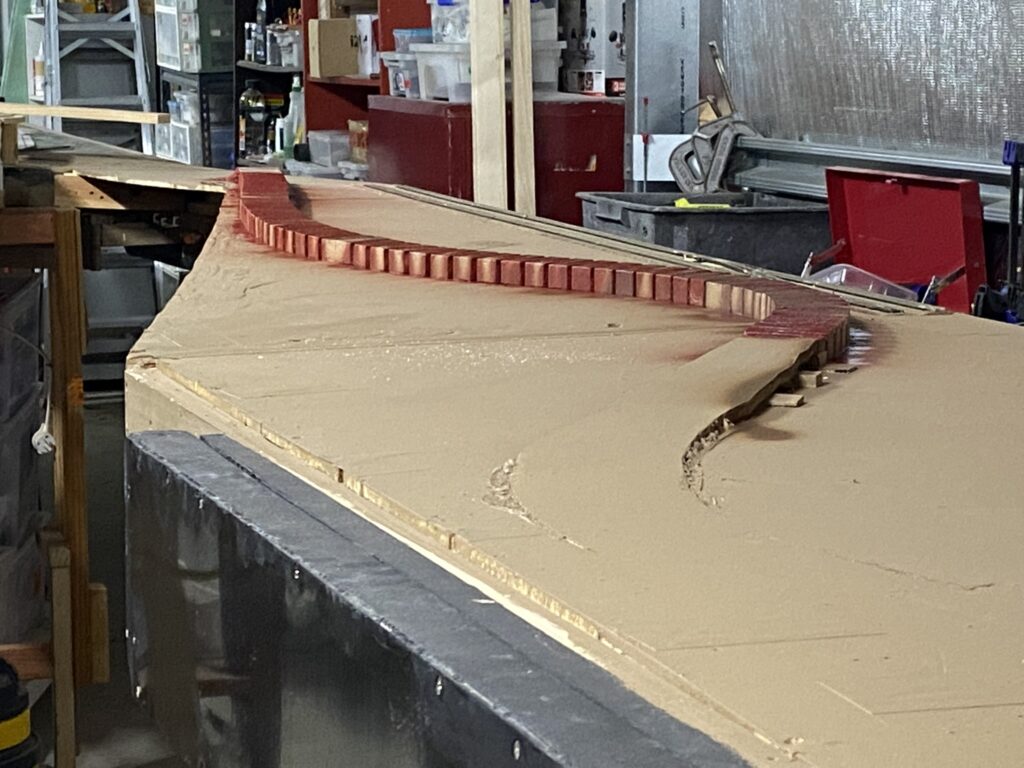
At that stage I threw up my hands in horror and started work on creating the Big 10 Curve on modules 7 & 8.
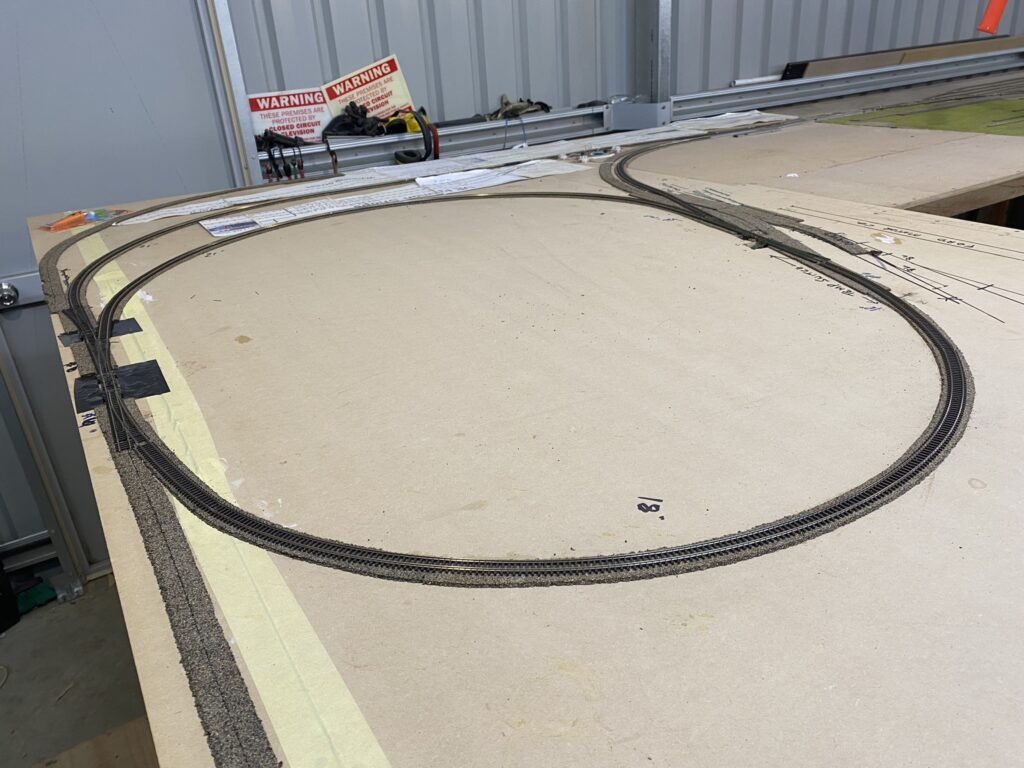
It had also become apparent that using an oval of track about 11 meters (36′) long was too big to be of use as a test track. It just took too long for a train to complete the loop. Consequently I decided to add a temporary loop of track as can be seen in the following photographs.


Once I have finished painting the sub roadbed on the baseboard I will return to wiring the South Denver Control Panel and hopefully the GM500D relays will arrive soon. I will also restart speed matching my locomotives using JMRI Decoder Pro, as well as weighting my rolling stock and coupler matching.
Note #1: Successful First Installation of a Group of Devices in the Turnout Control System
Tonight I installed the first Snap-It Accessory Decoder and it actually worked!
Furthermore it was not a standard Peco point motor installation. It was a Kato crossover using:
- Track Power from a Tam Valley 12v 5amp Accessory Booster
- Kato Scissors Crossing (with 4 point motors) Turnout
- NCE Snap-It Single Module
- External 470u 25v Capacitor added to the NCE Snap-It
- DCC Concepts DCD-SDC adapter from 3 wire to Kato 2 wire
- Single Pole Momentary contact micro switch
The turnout responded 100% correctly once I added the extra 470u capacitor. The Turnout is switched by:
- Toggling the momentary contact toggle switch OR
- Selecting Accessory Decoder 171 on the NCE Power Pro Hammer Head
Still to install in this first “Turnout Control System” process:
- Gaugemaster GM500 Self Latching Relay
- Two 3mm LEDs on the control panel to indicate which route has been thrown
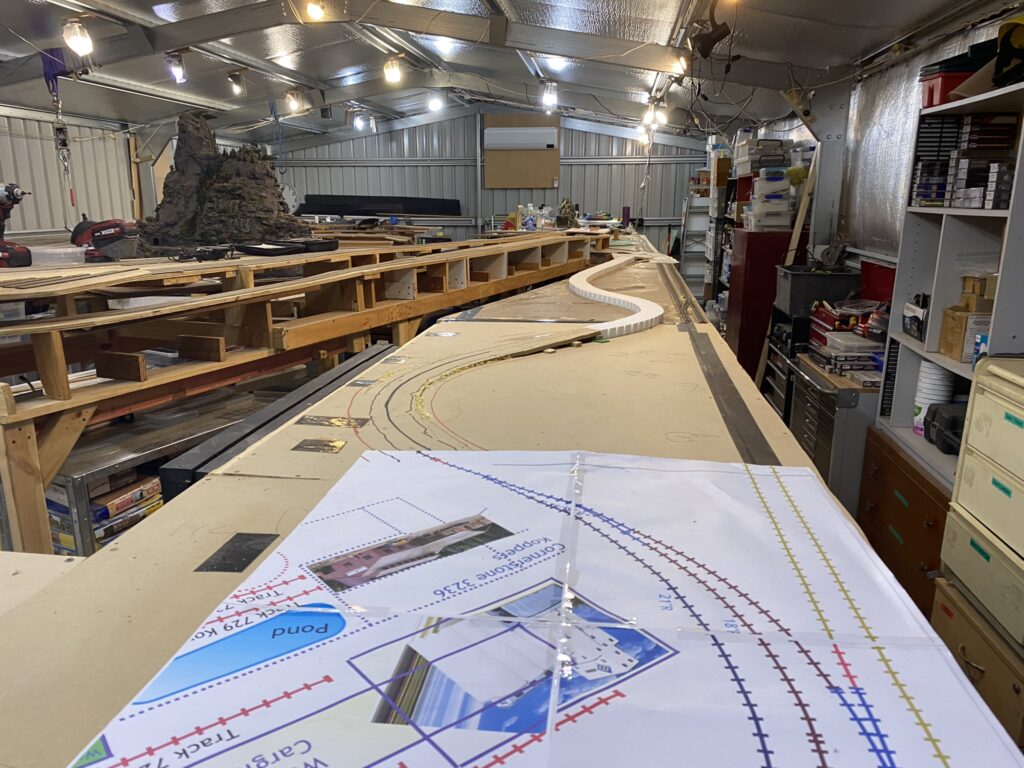
The Track Plan is Updated
For 6 months or more I have been working on updating the Denver’s RailRoads track plan. Initially I wanted to improve the Denver rail yards and to provide UP and CBQ with their own yard (be it that they had to share) separate from Rio Grande’s North Yard. I then decided that I had too much yard and not enough scenic hills and mountains. To rectify this issue I decided to move the East Denver Belt Line and replace it with Rio Grande’s Big 10 Curve and Pinecliff station. This will give me a large open area of mainly just scenery, which the layout plan was lacking.
In order to re-establish the East Denver Belt Line industries I (a) deleted the Cherokee power station from East Denver and replaced it with the, now discontinued, Arapahoe power station in South Denver, (b) kept the Koppers crossties and utility poles operation in the corner of module 7 and (c) abandoned the Globe Smelter. All of the other industries, including Denver Union Stockyards and the Conoco Refinery, will fit between the new Rio Grande and UP/Burlington yards. In real life they are in that location but not so compressed!
I also improved the entrance and exit to the Salt Lake City return loop and staging tracks and their relationship with Glenwood Springs and its industries (which really exist but unfortunately are not railroad served). On the Craig branch I also swapped out the Springboat Springs station stop for Phippsburg and added the Edna mine which was the prototype for Walthers New River Mining Co kit, which I plan to use.

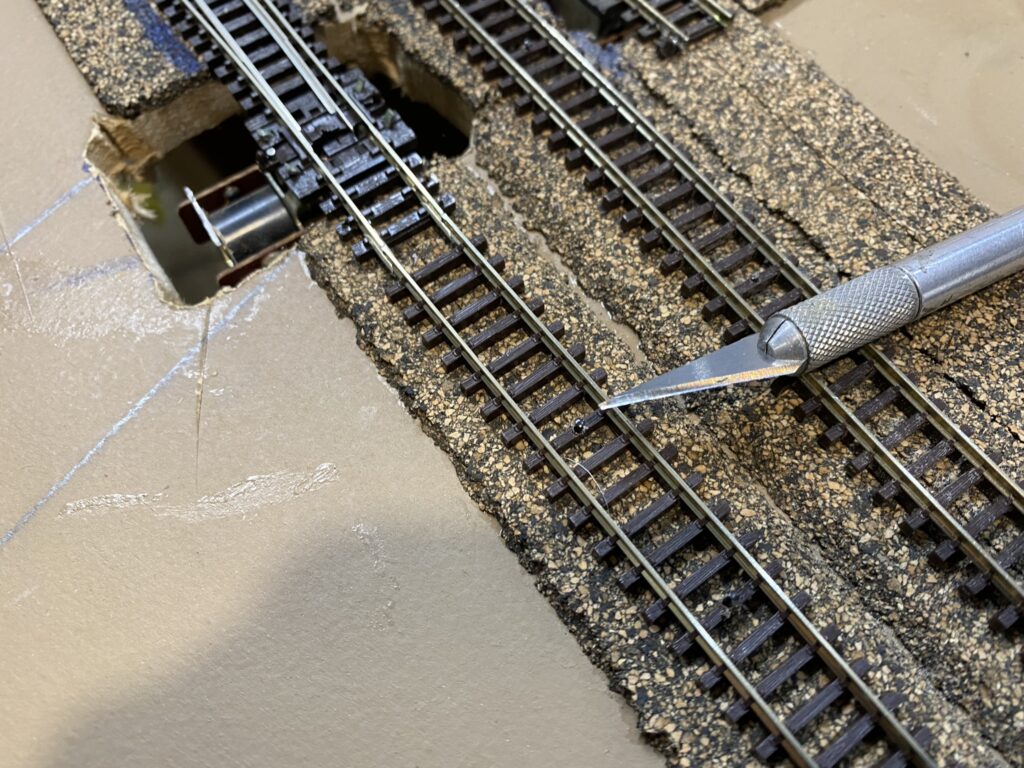
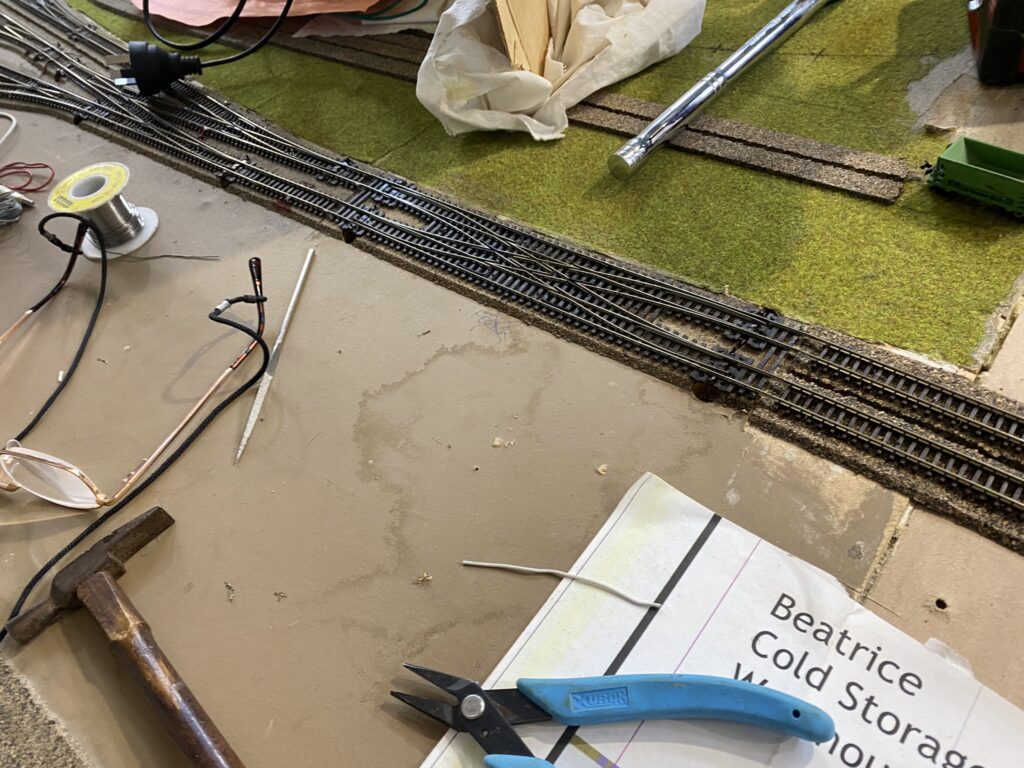
Kato to the rescue
I finally got fed up trying to run trains at low speeds over the Peco scissors turnout and decided to replace it with a Kato unit. During the dismantling of the Peco unit I found one of the wires to one of the Dual Frog Juicers was broken. This was almost certainly the reason why Locos would not cross the Peco scissors at slow speeds without stalling. However I decided to continue with the swap as I saved 4 point motors and 2 dual frog juicers for future use. The Kato unit is a single point motor which throws the rails to either straight through, or crossed. How simple!
I did a few more jobs before Perth’s 40 degree plus Christmas drove me indoors! . . .

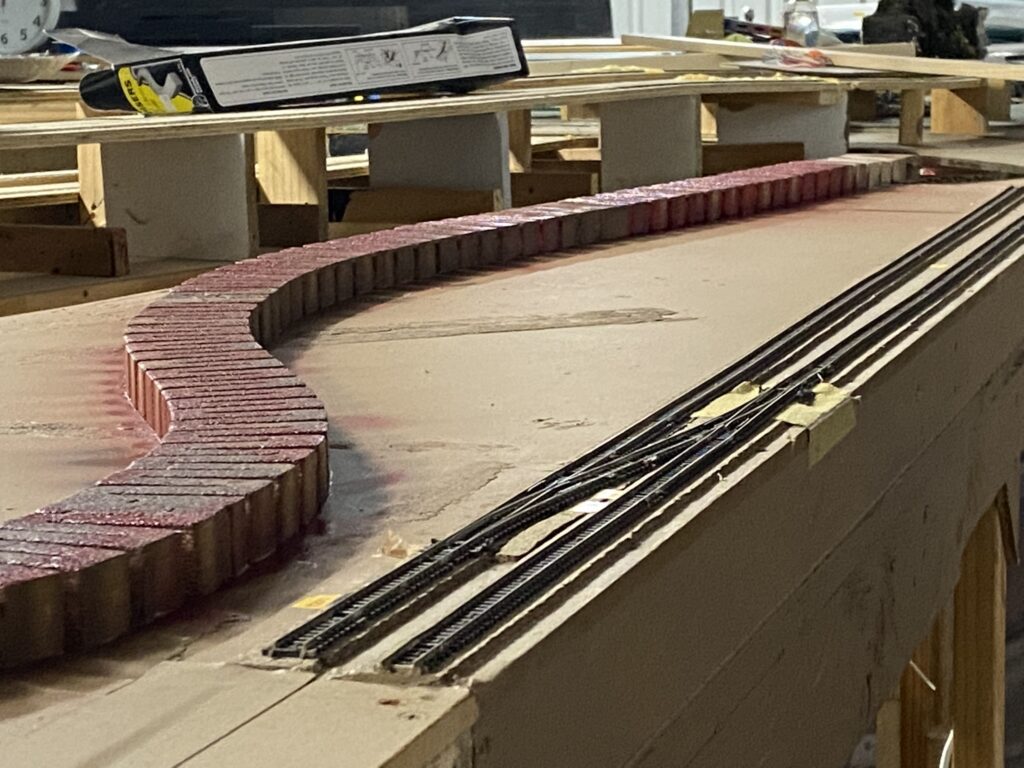
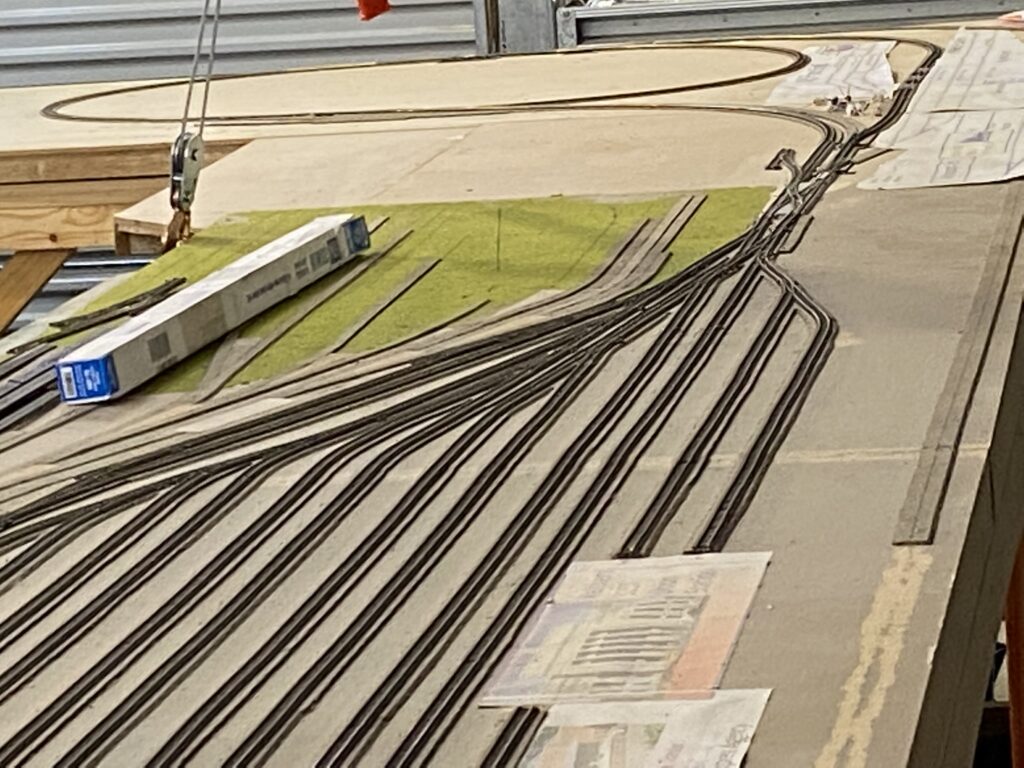
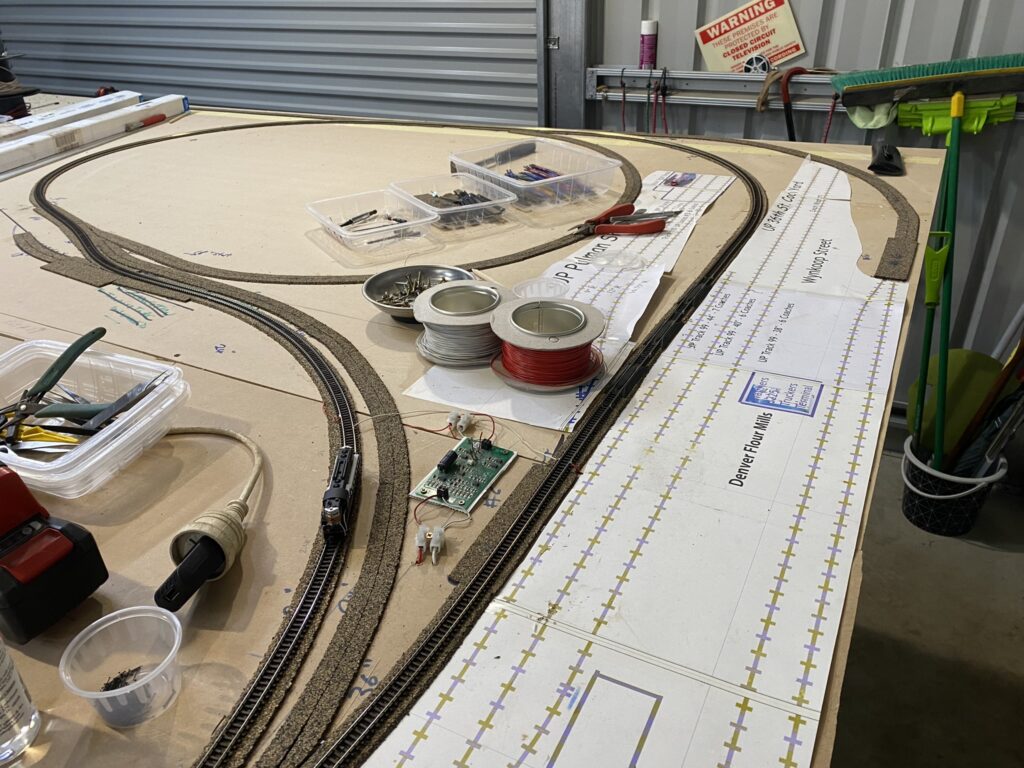
I Finally Close the Loop
After laying a temporary loop of track where Denver’s North Yard should be, I finally have a complete loop of track. I can now work on completing the industry tracks, and building kits and scenery, on modules 1 and 1a. I can then operate South Denver as a switching layout. There are nine industries including Denver Ice & Cold Storage, the Denver Market & Produce Terminal (Wazee Market), the PSC Arapahoe Power Station and the PSC Gas Works, American Manganese Steel foundry, Centennial School Supply, J.I. Case (a Farm Machinery Distributor), International Harvester Co and Thomas Williams, a coal dealer.
Then I can start work on finishing the track laying for modules 2 to 5 and building Denver Union Station and the C&S Rice Yard.
Almost there!
I have tested – and fixed up the track work – 6 of the 7 return loop tracks that form the Joint Line staging tracks. The 7th track only needs the installation of a frog juicer on one of the turnouts to be fully tested. By testing I mean the Atlas GP9 can successfully travel the length of the track, in both directions, without incidence. But only at speed step 12 (on my NCE Pro Cab) or greater at this stage. To move at really slow speeds will require cleaner track. And then I have to test the track with 10 or more freight cars backing thru the turnouts.
But for now speed step 12 is OK. I can now see if I can connect the two main lines running through Denver Union Station to the Joint Line Loop/South Denver module. And have power. Then it is on to the temporary return loop on Module 5.
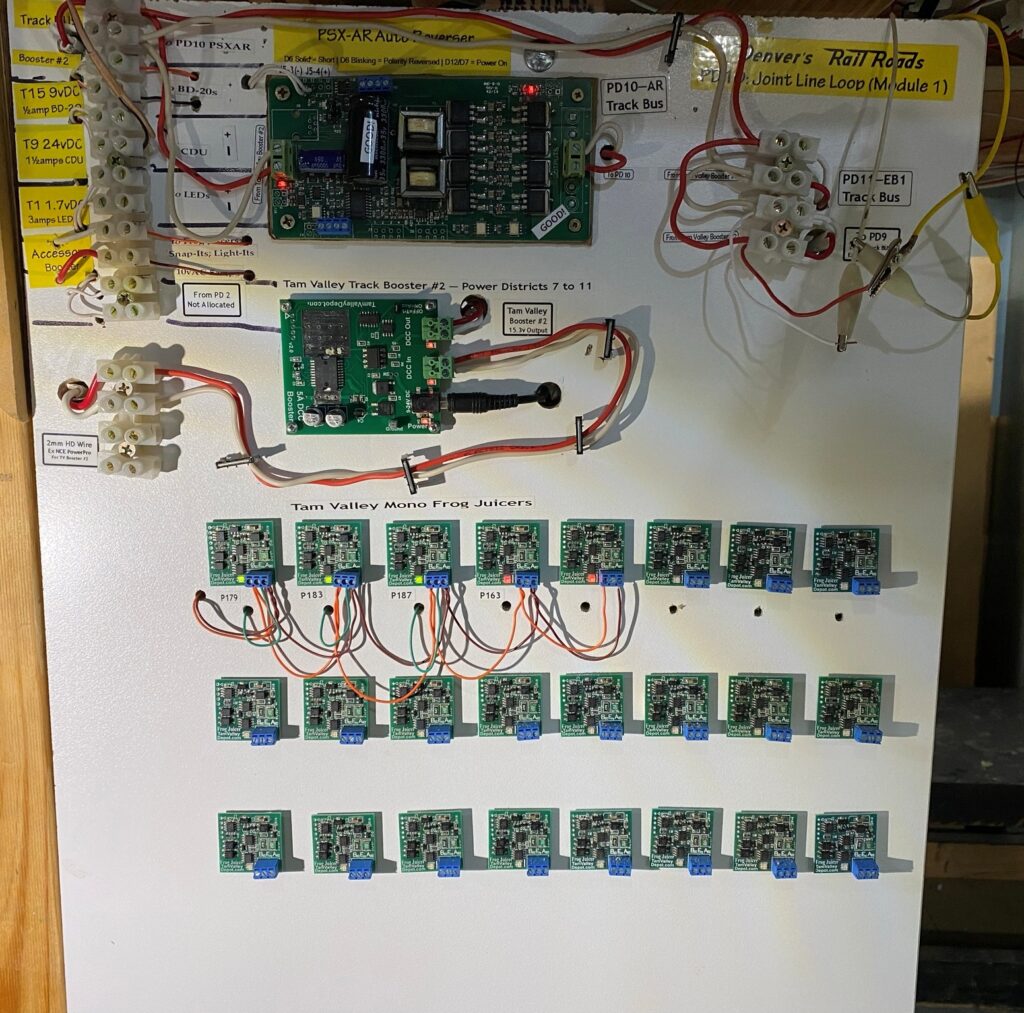
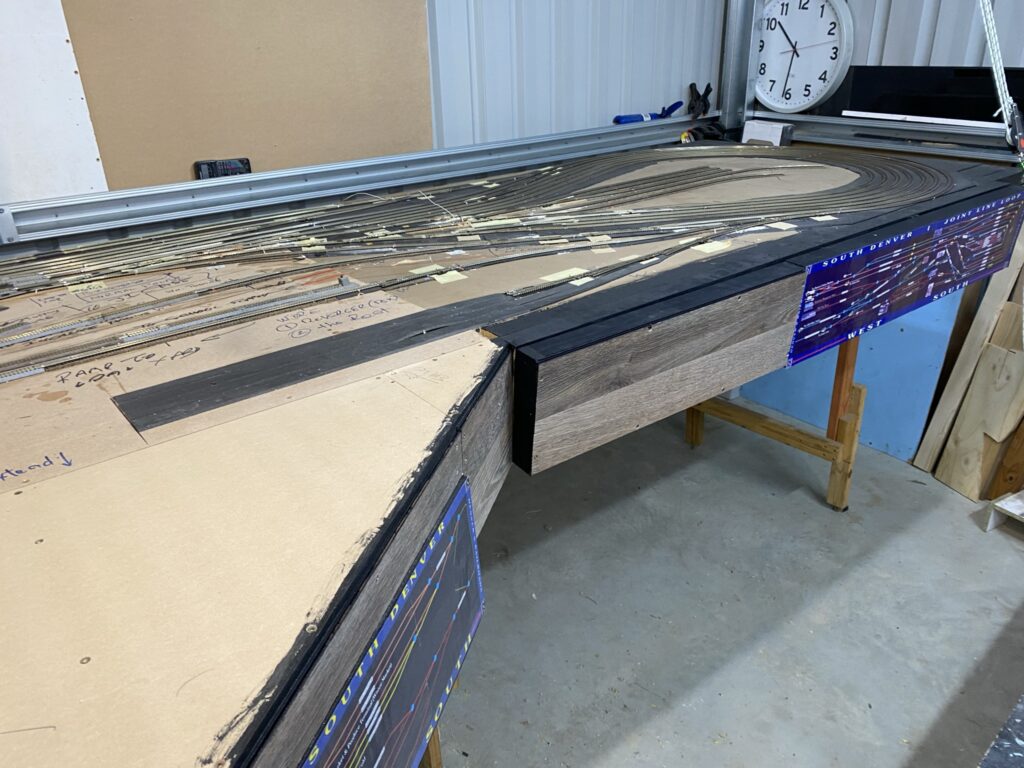
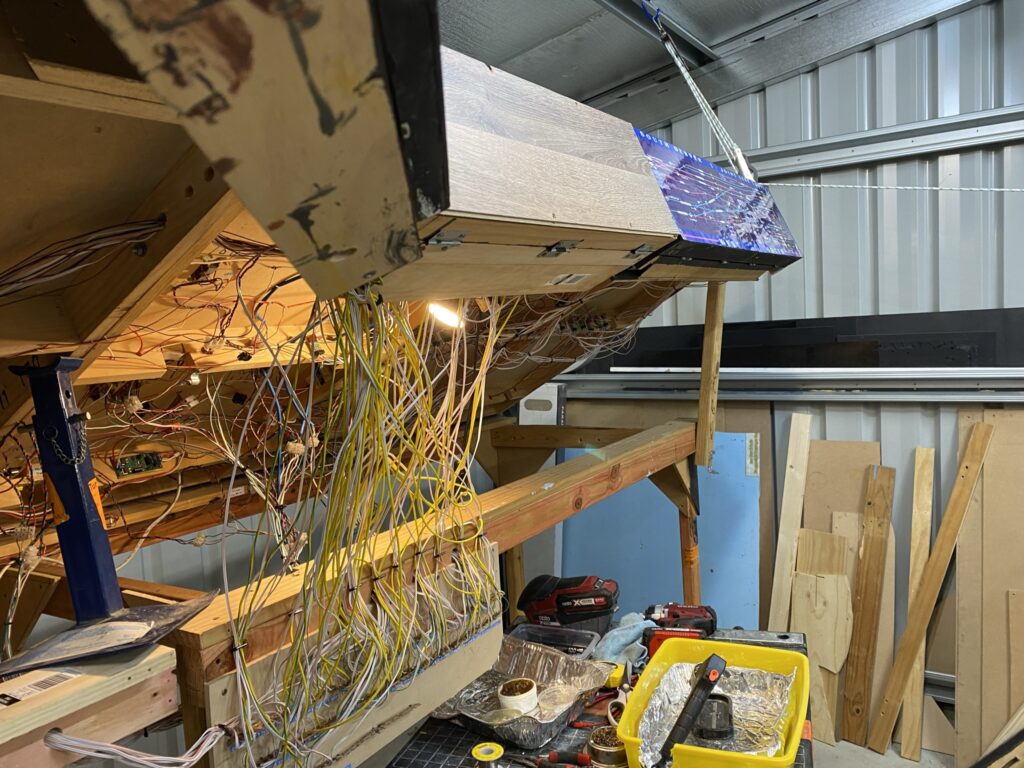
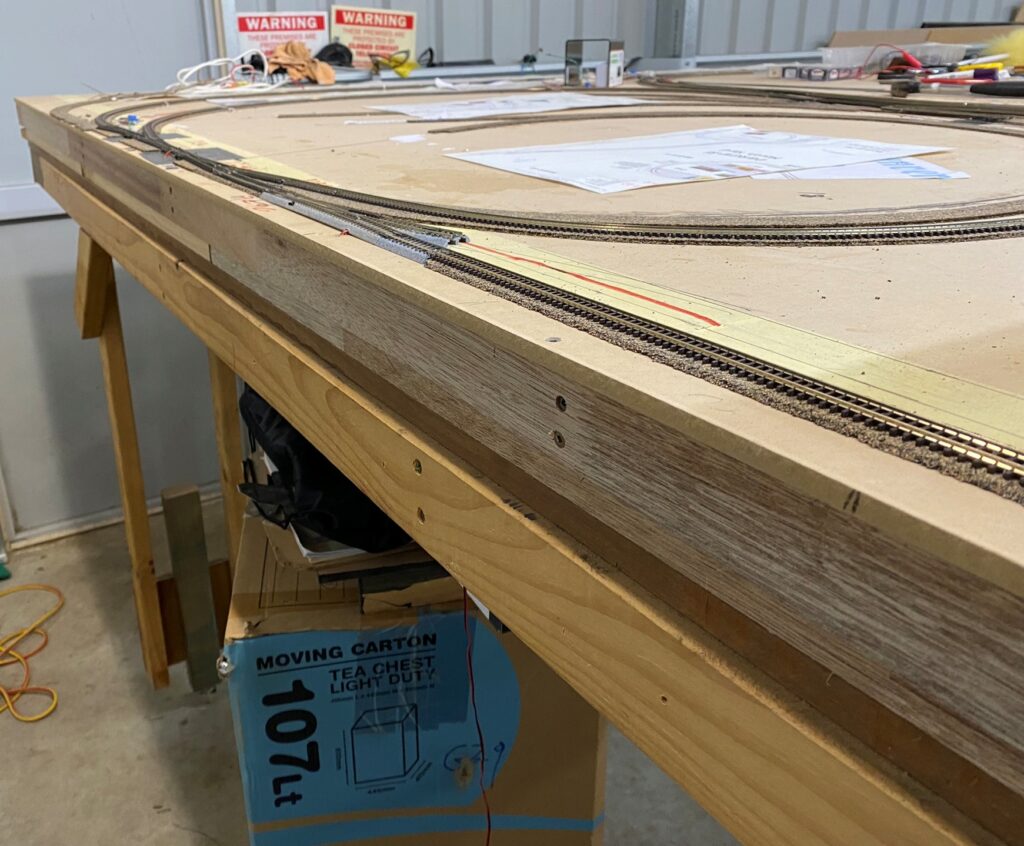
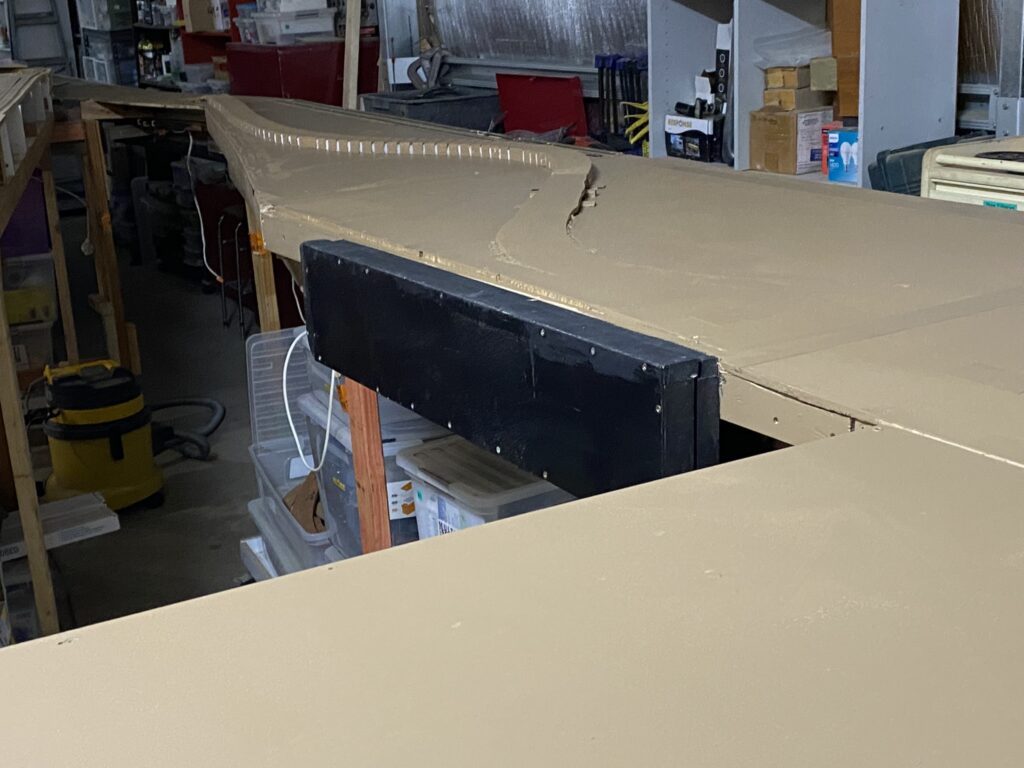
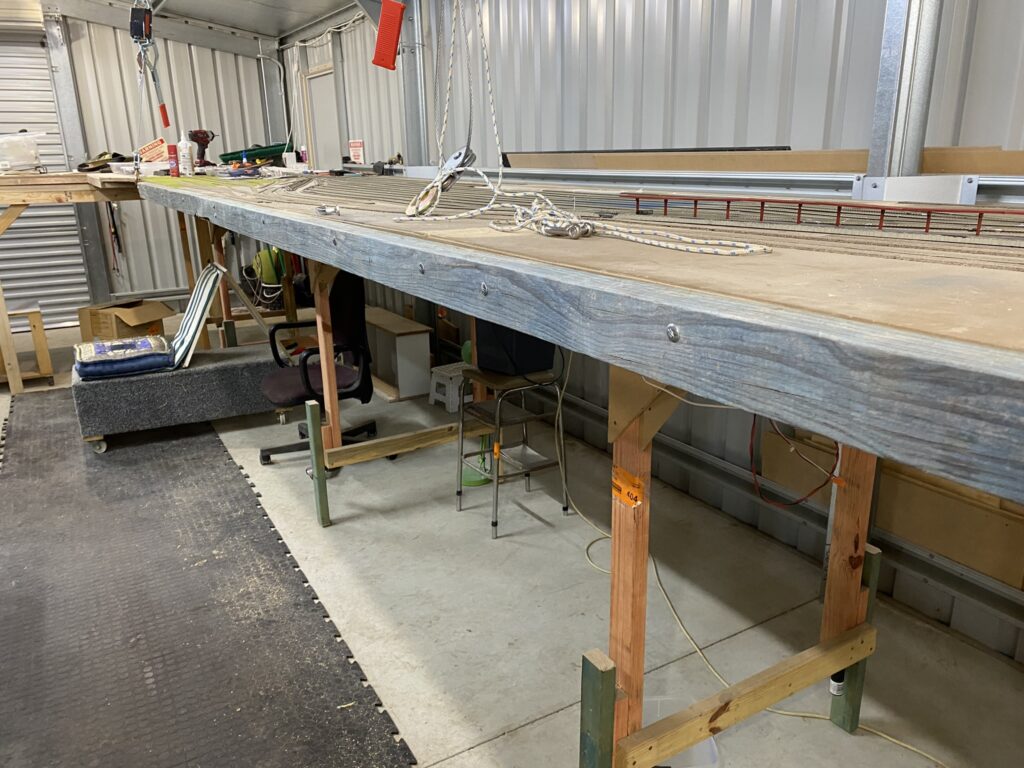
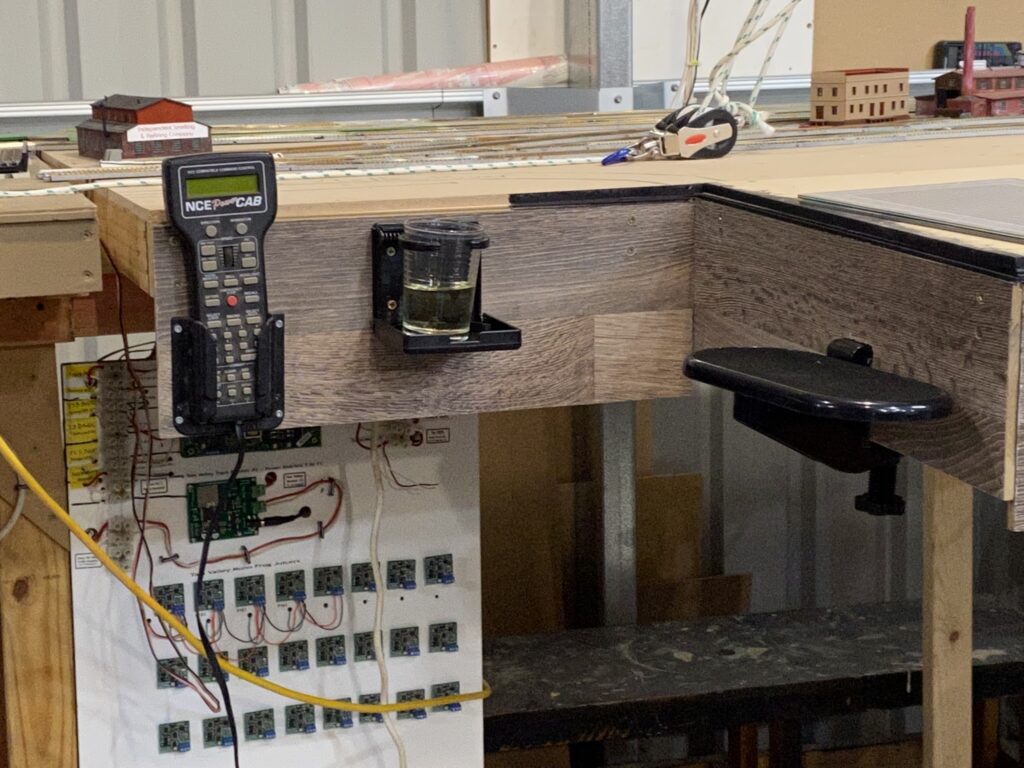
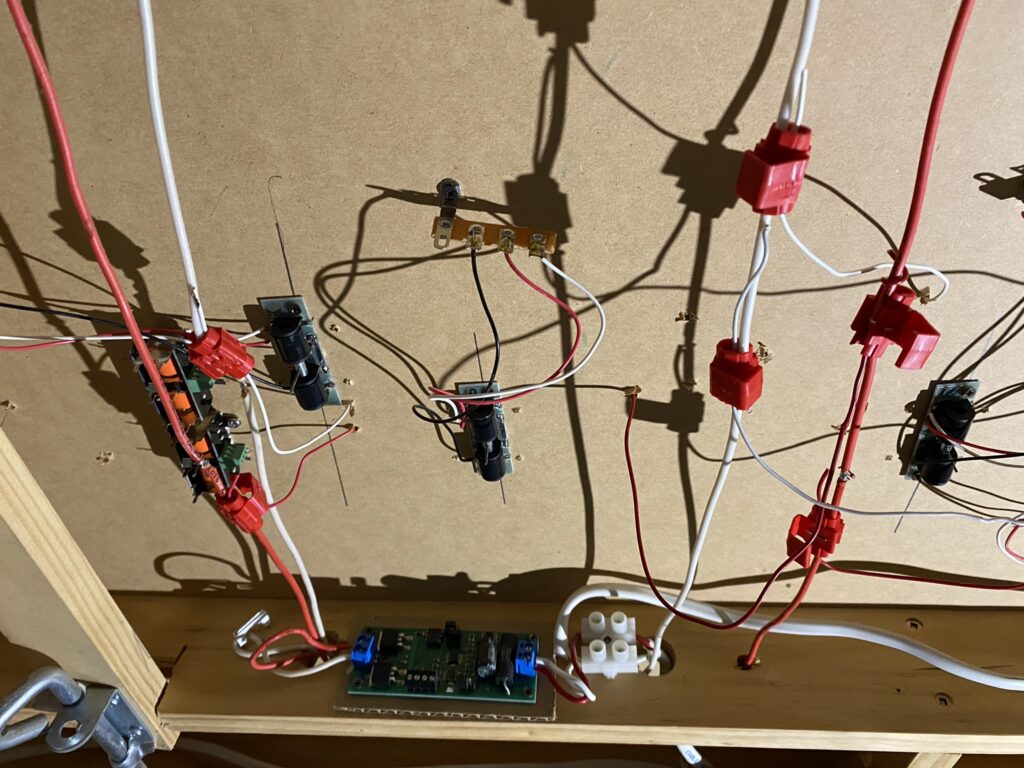
The Module Has Landed
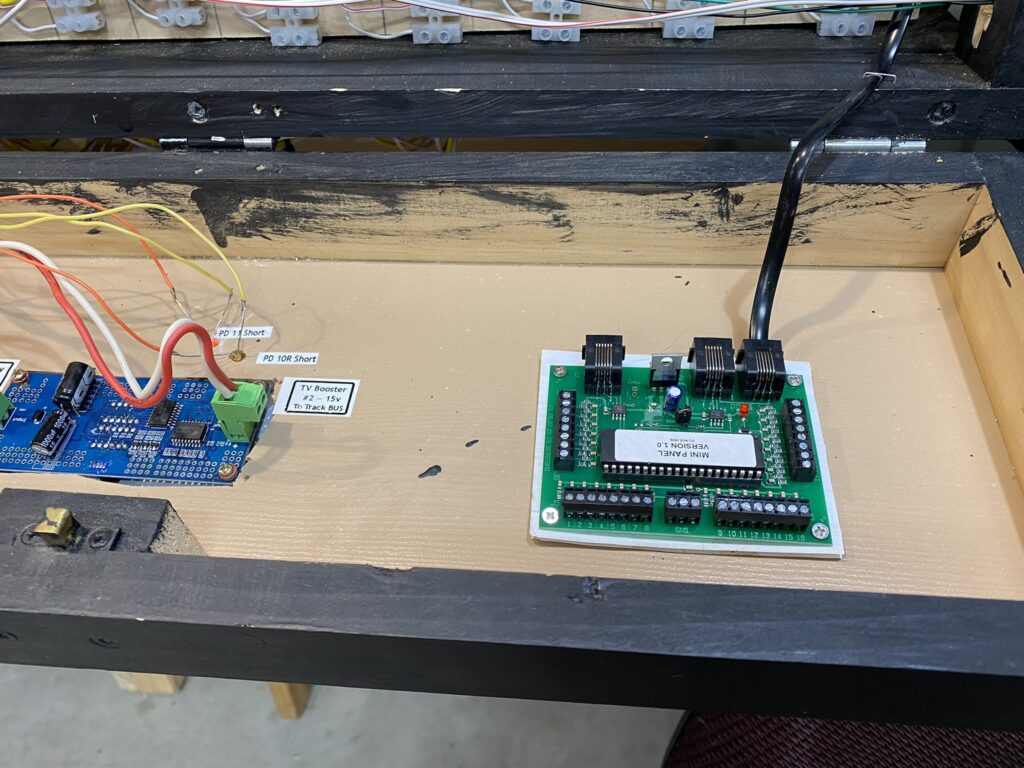
Finally, I have finished all of the wiring for my two end modules (#1 Joint Line Loop and #1A South Denver — also known as Power Districts 10 & 11), dropped the Modules down from their 45 degree height to zero, or flat, installed the DCC Concepts Alpha Panel (same as a RRamp meter) and wired up the short indicator LED’s. The next job is to actually run a Loco on the rails to find all of my wiring cock-ups. Then I can connect to the temporary loop on the other side of the Denver Union Terminal tracks and be able to run trains in a loop. This will allow me to speed match all of my Locomotives, while I run them in and look for issues.
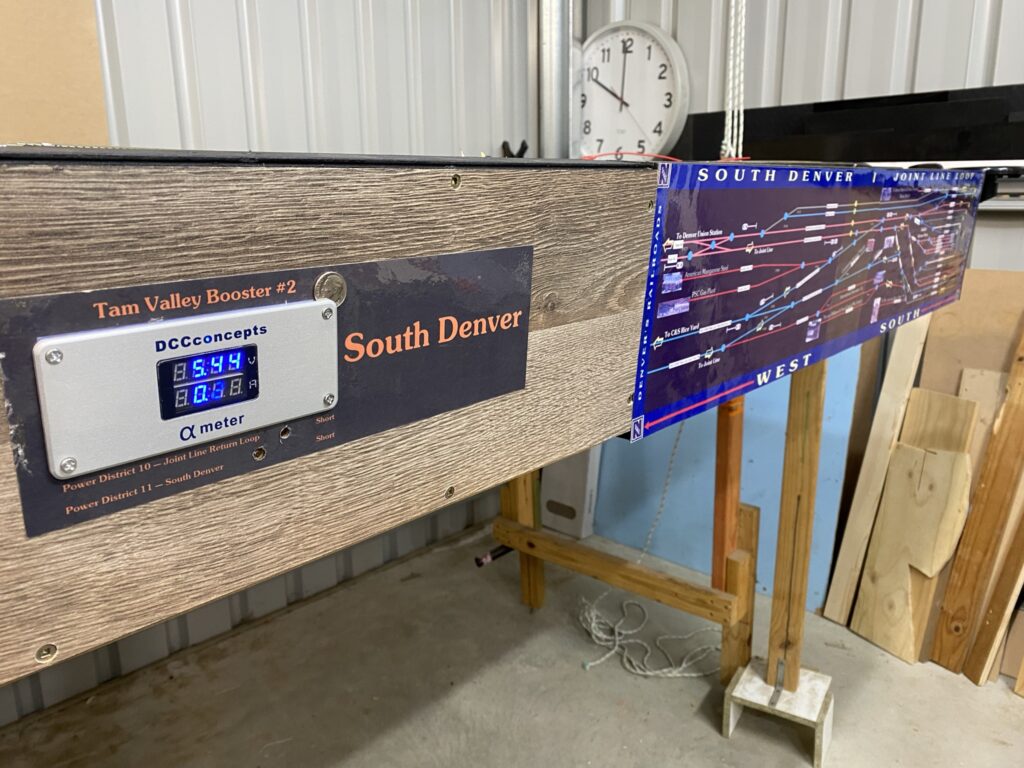
Note the AML “Dime for Scale”.
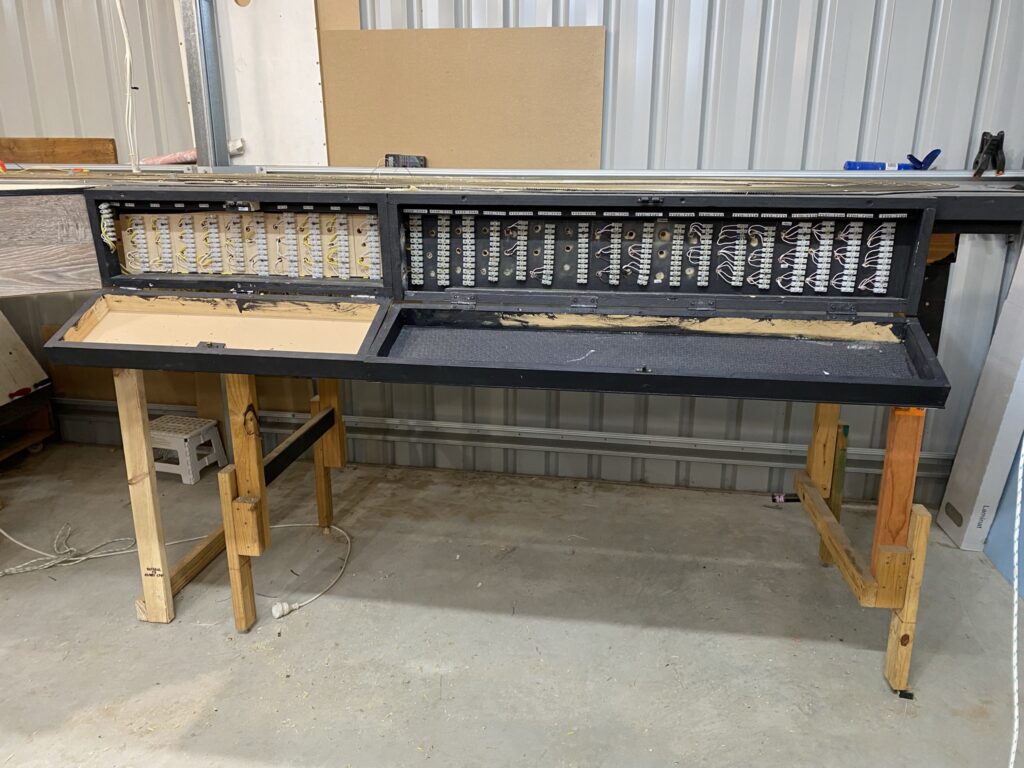
All waiting to be connected with the switches and LED’s on the control panel and the NCE Mini Panel.